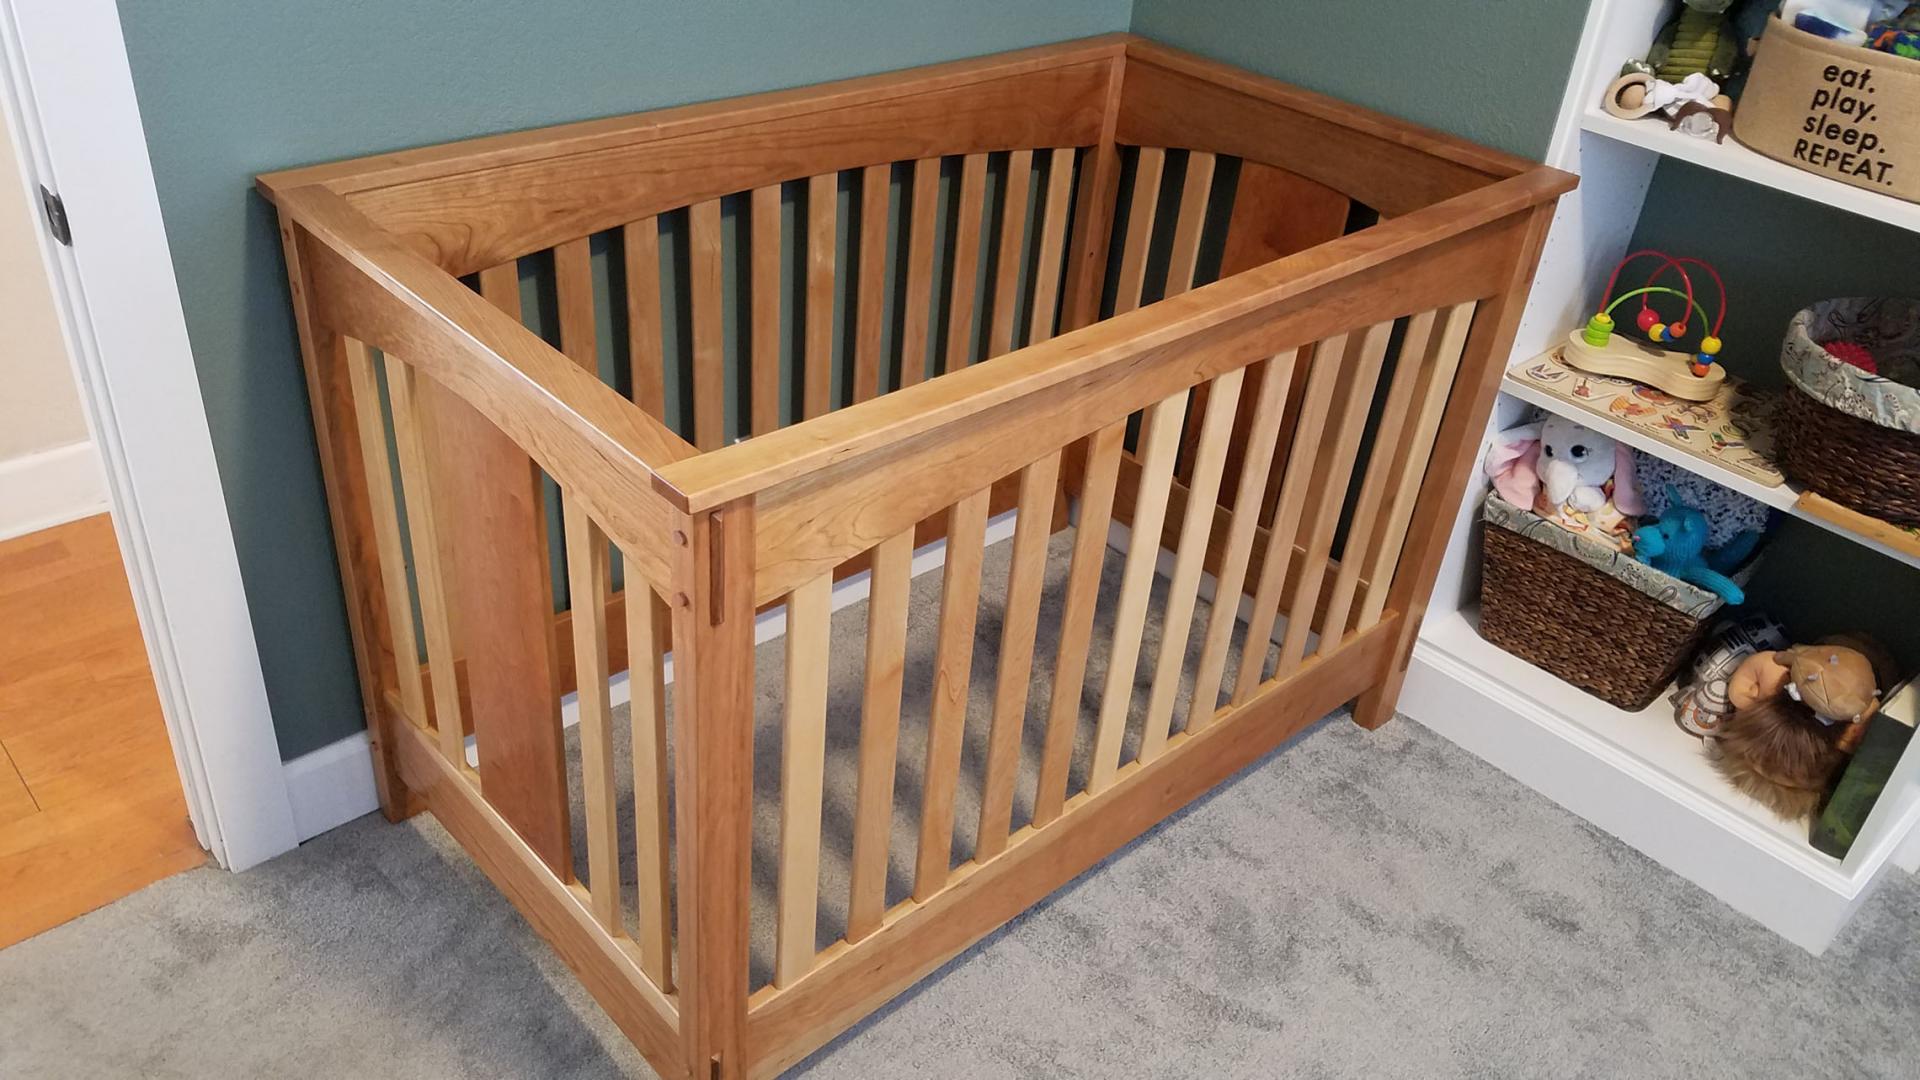
Craftsman Style Cherry and Maple Crib
When I found out we were having our first child I knew I needed to make an heirloom quality piece for him to sleep in. I scoured Google and Pinterest looking for inspiration for a craftsman/mission style crib.
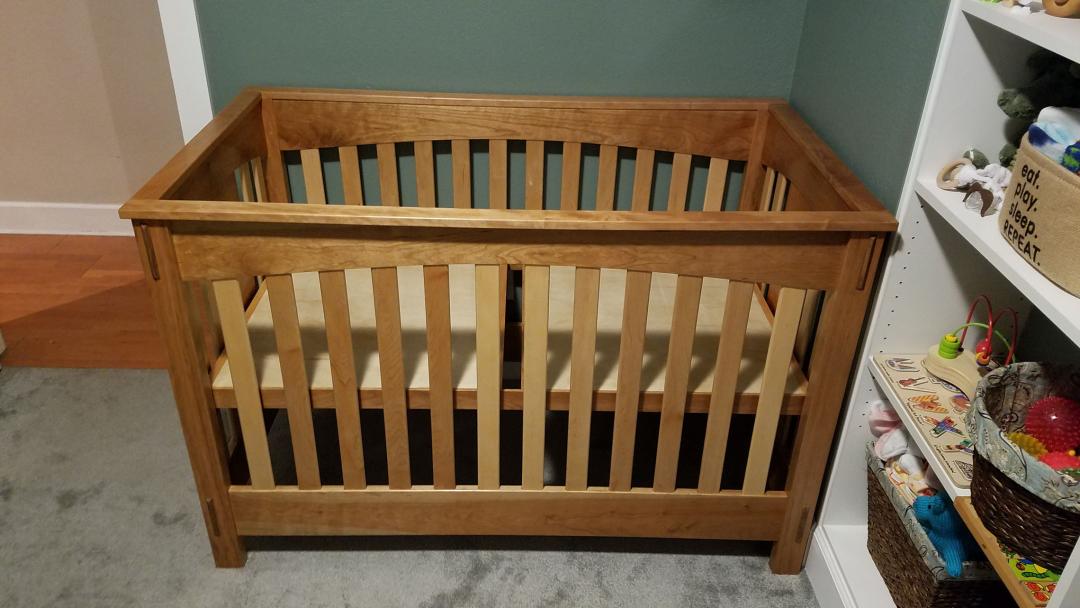
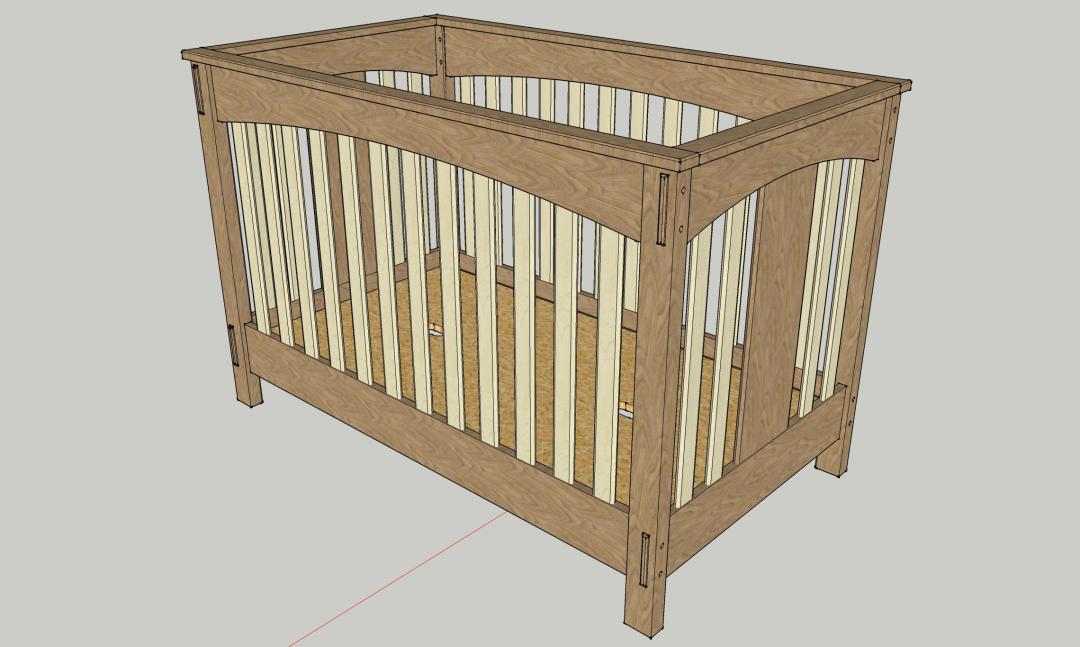
Finally after I found my inspiration, I jumped into SketchUp and modeled out the crib I wanted to make. I wanted traditional joinery, no hex-head bolts and fake tenons for my kid's first bed. Also, it had to be all hardwoods, no particle board or MDF . I decided on a two-tone effect using one wood for the frame and another for the pickets, with some wider panels on the ends so it didn't look 100% like a baby jail. I had to go back and forth with my wife on what those woods would be and convince her that it would look good. We settled on Cherry for the frame and Maple for the pickets.
To appease my wife, I made sure to pick up cherry boards that included some lighter sap wood so it would blend a bit with the maple pickets and not be too jarring a contrast.
Breaking Down Materials
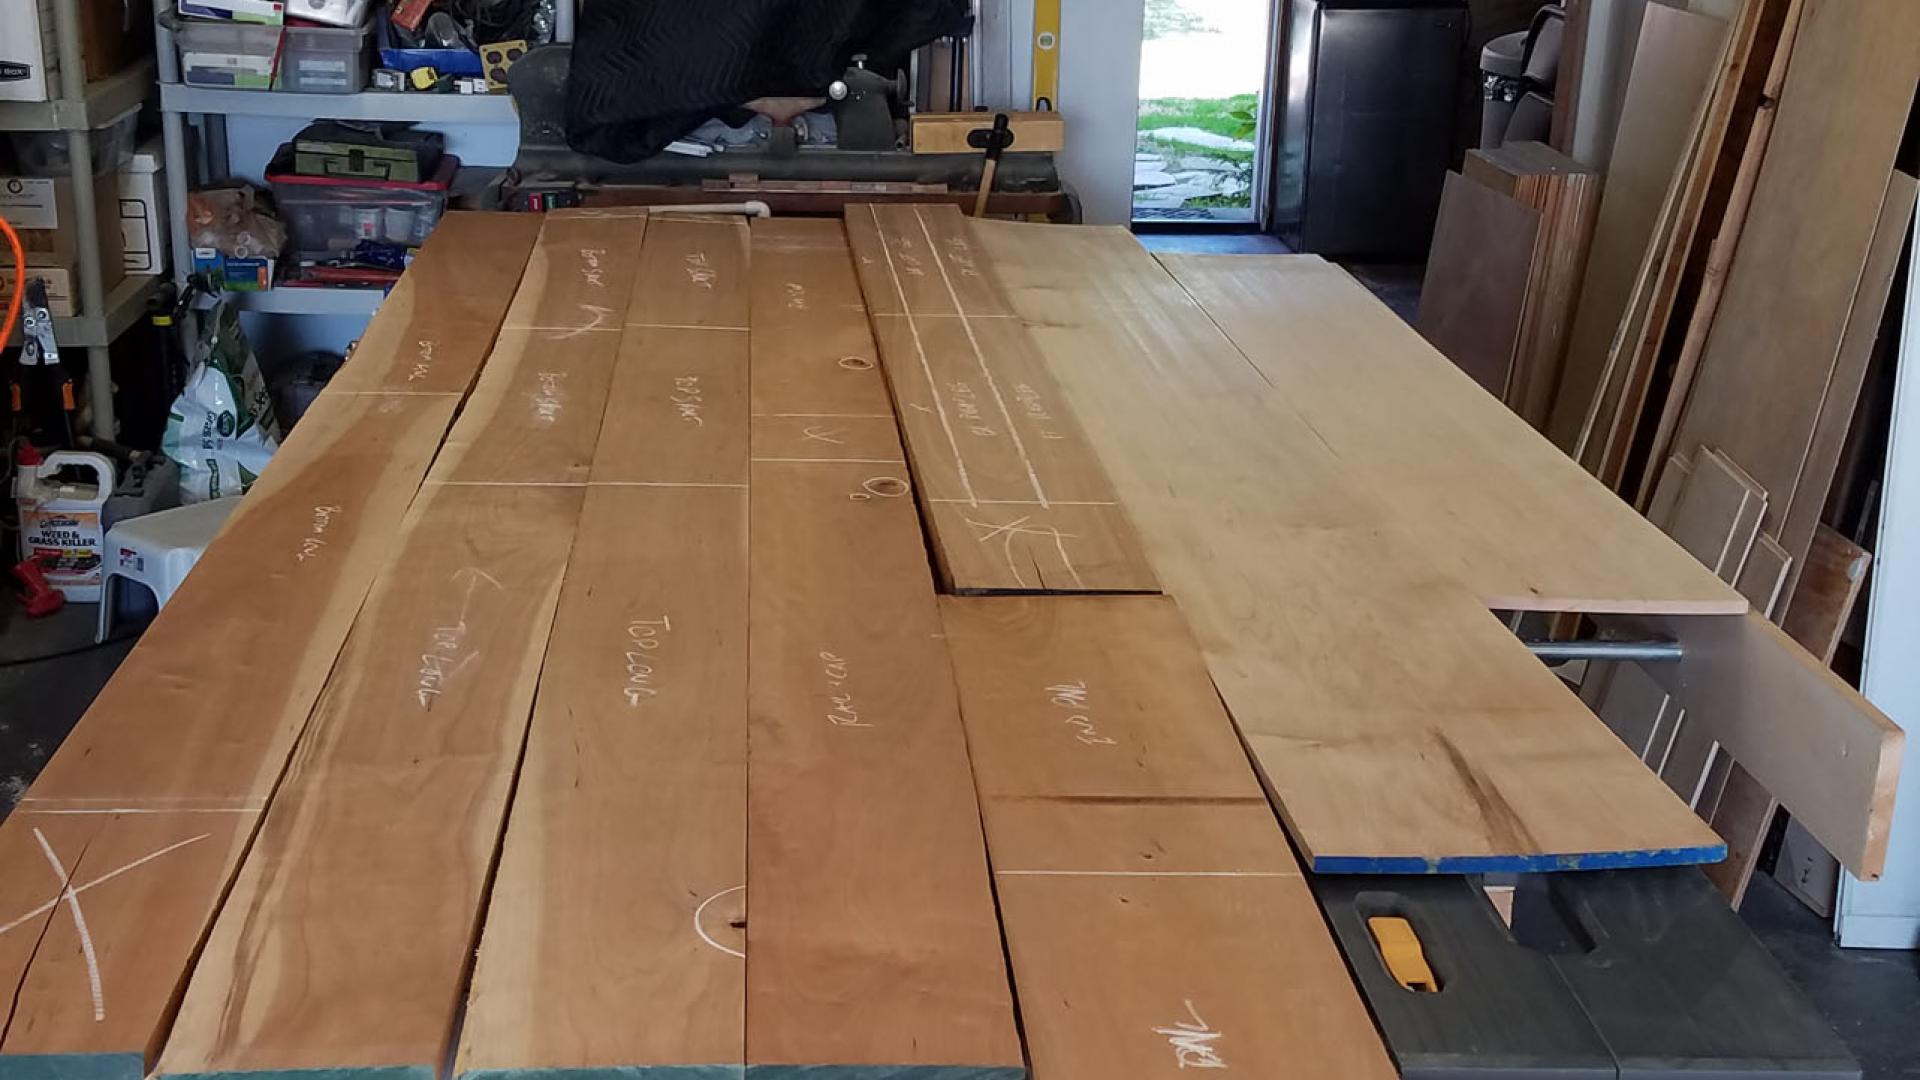
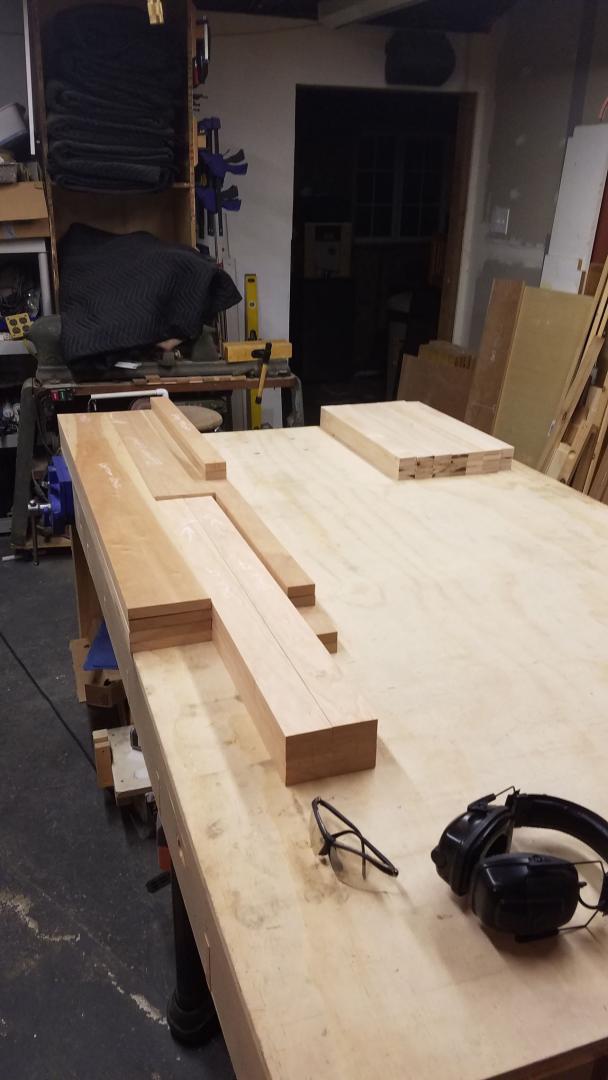
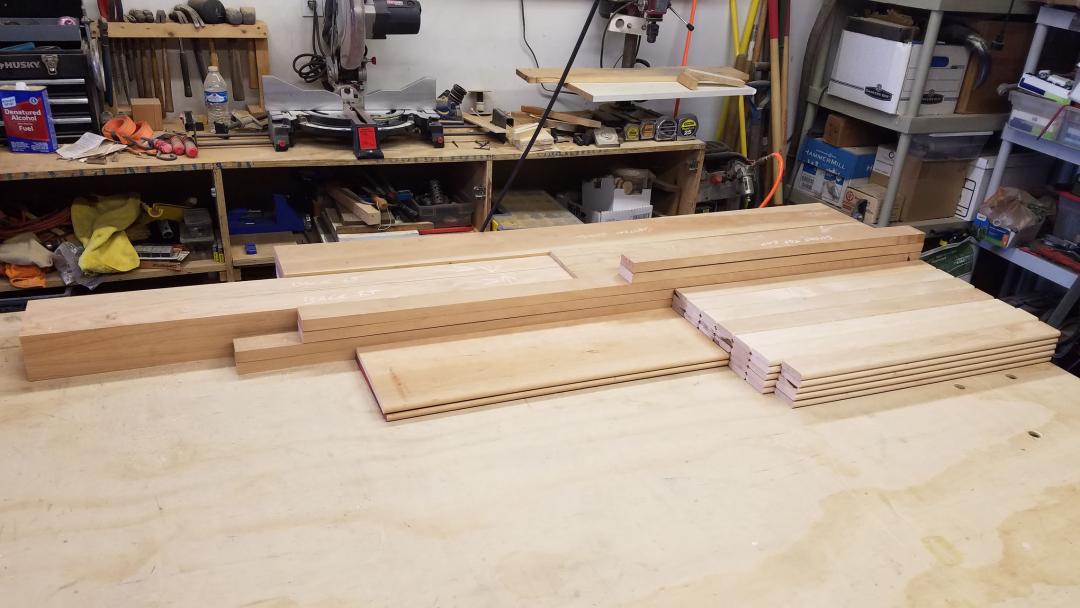
After Picking out the materials, I marked out rough cut lines to get all the stock I needed to make the individual parts of the crib; making sure to avoid defects in the wood such as knots cracks and checks .

After cutting all the parts out to rough size, all edges got cleaned up and squared, ready for the next step.

Surfacing and Shaping
I had purchased S3S (surfaced 3 sides) lumber, but some boards were cupped a bit, so now that all the parts were smaller in size I ran them through the planer to get them nice and flat.
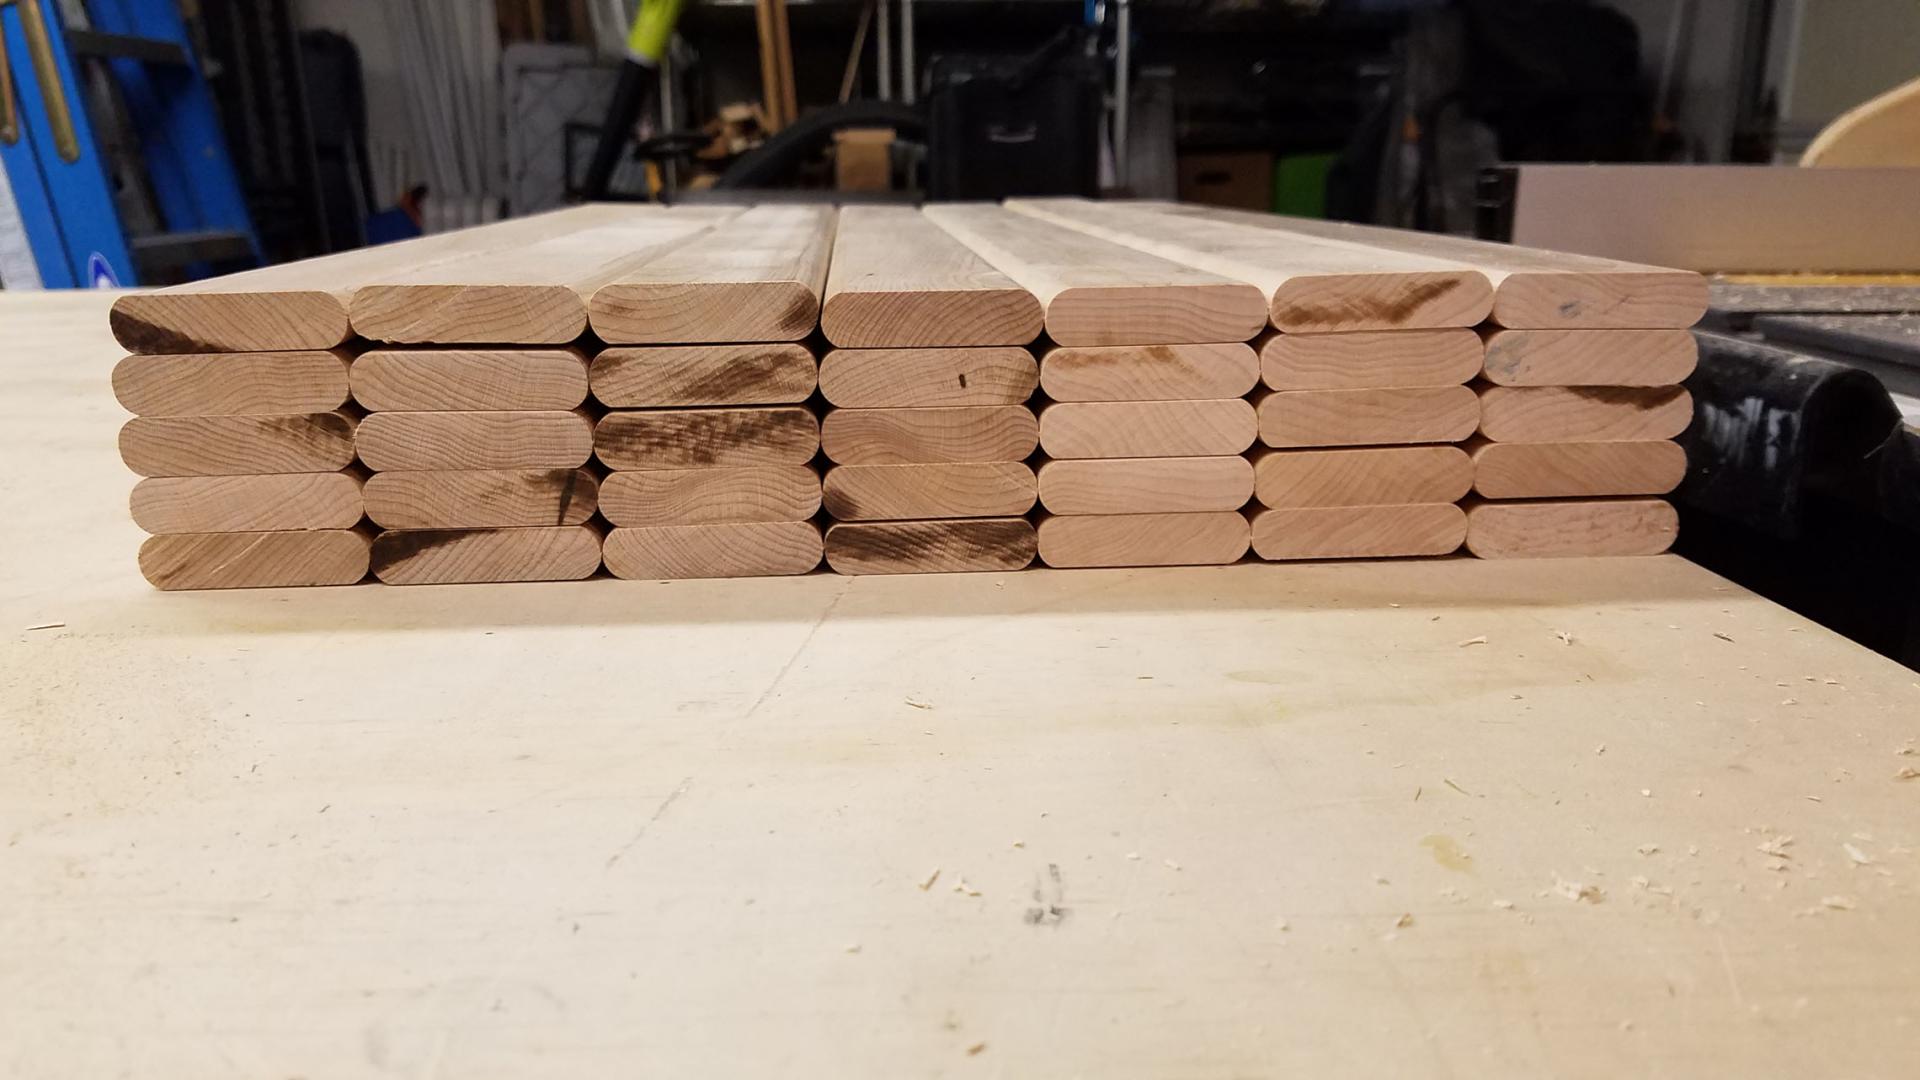
Then I could cut all the parts to their final dimensions, add the curve to the top rails, and add the rounded edges to all the pickets and the two end panels.
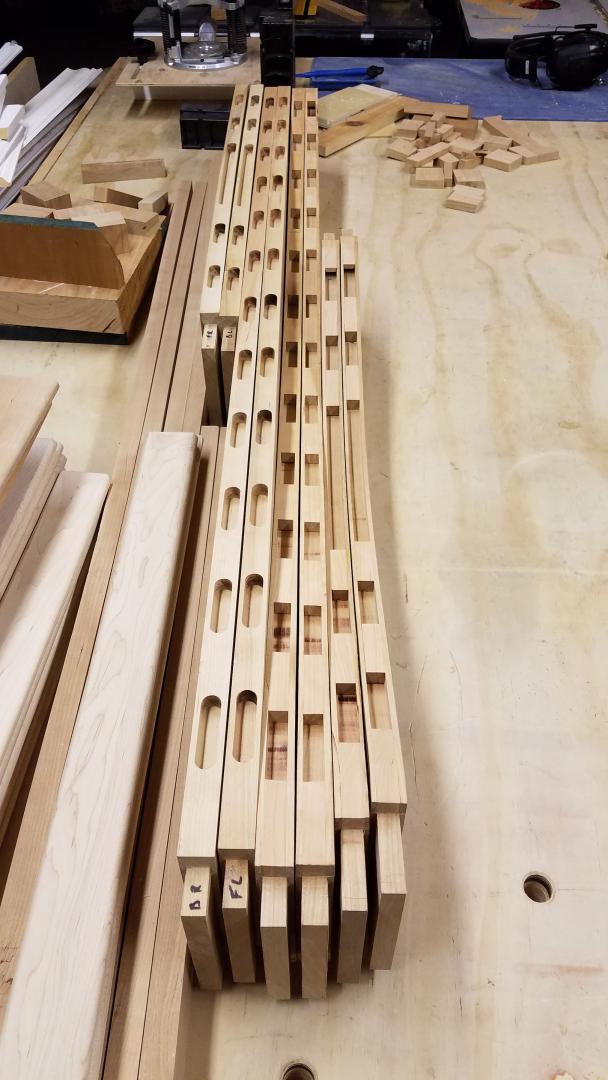
I like to stack my parts.


Joinery
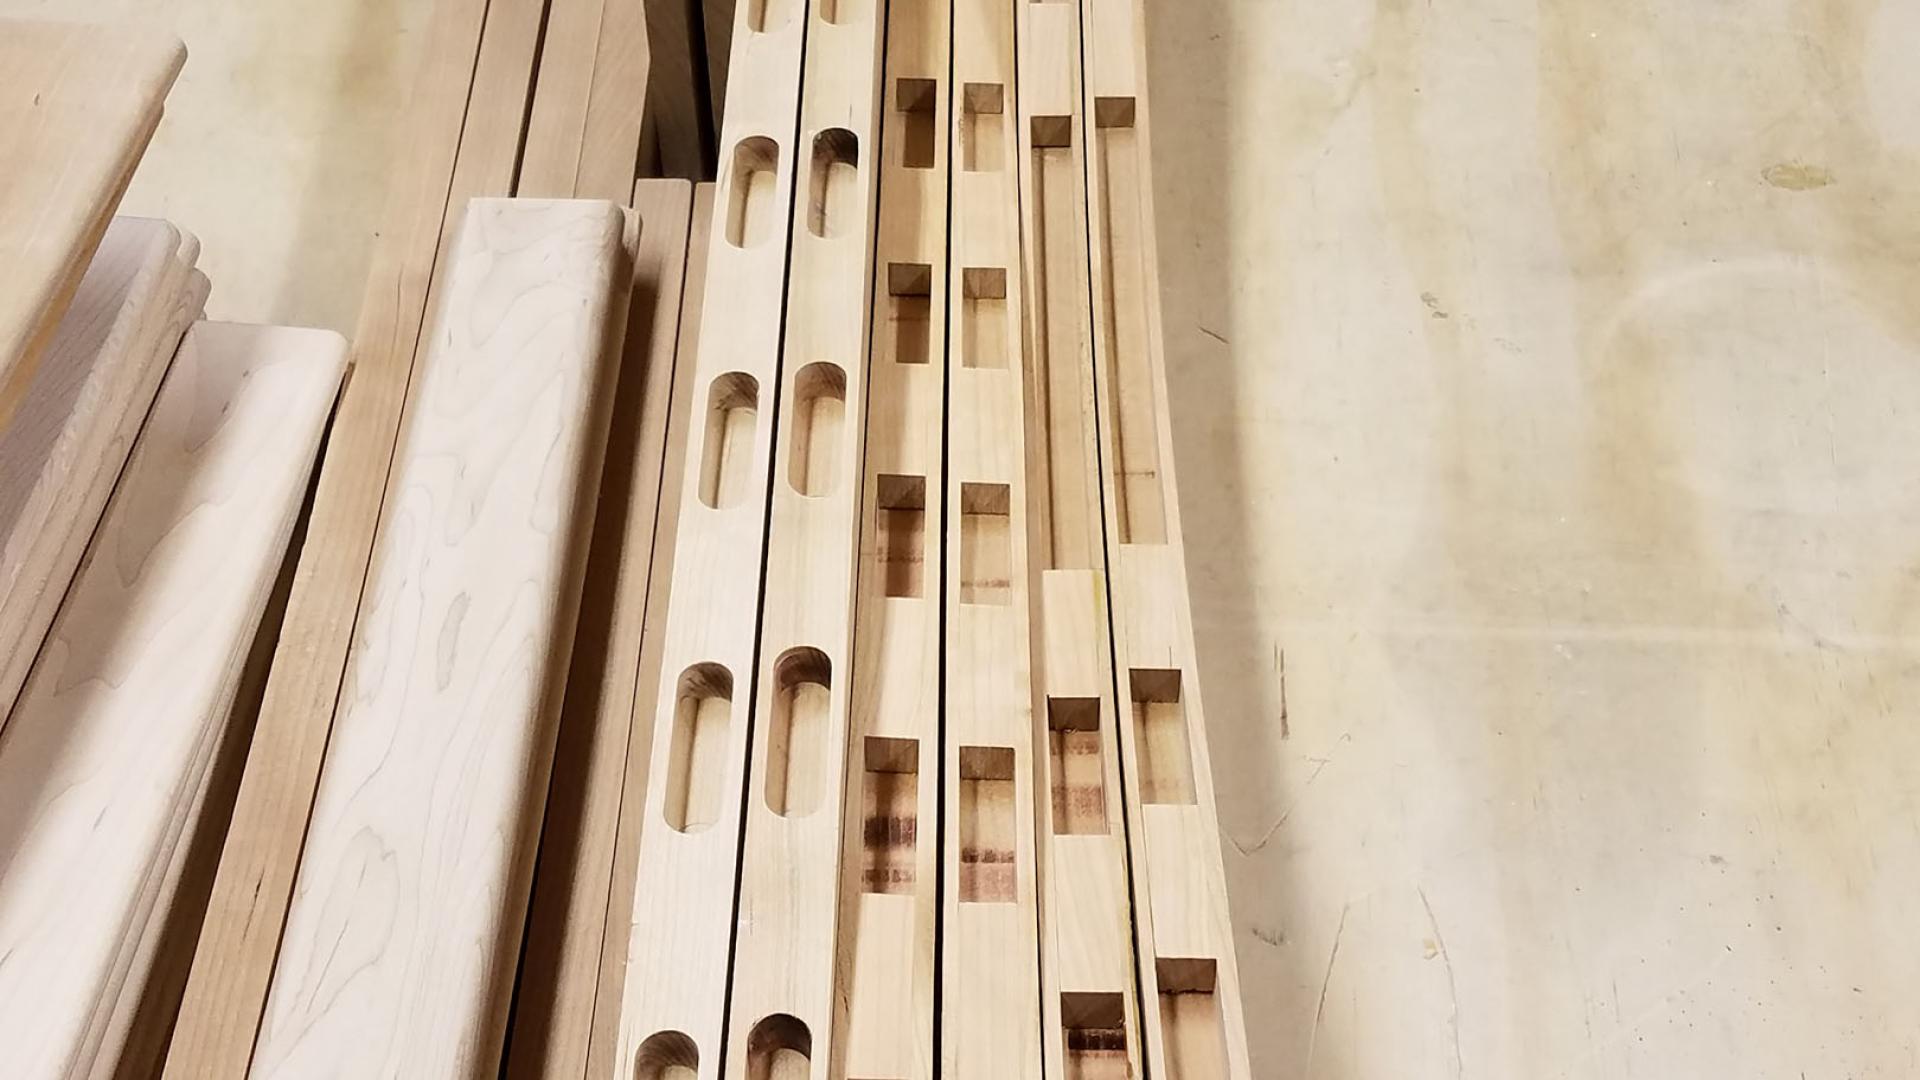
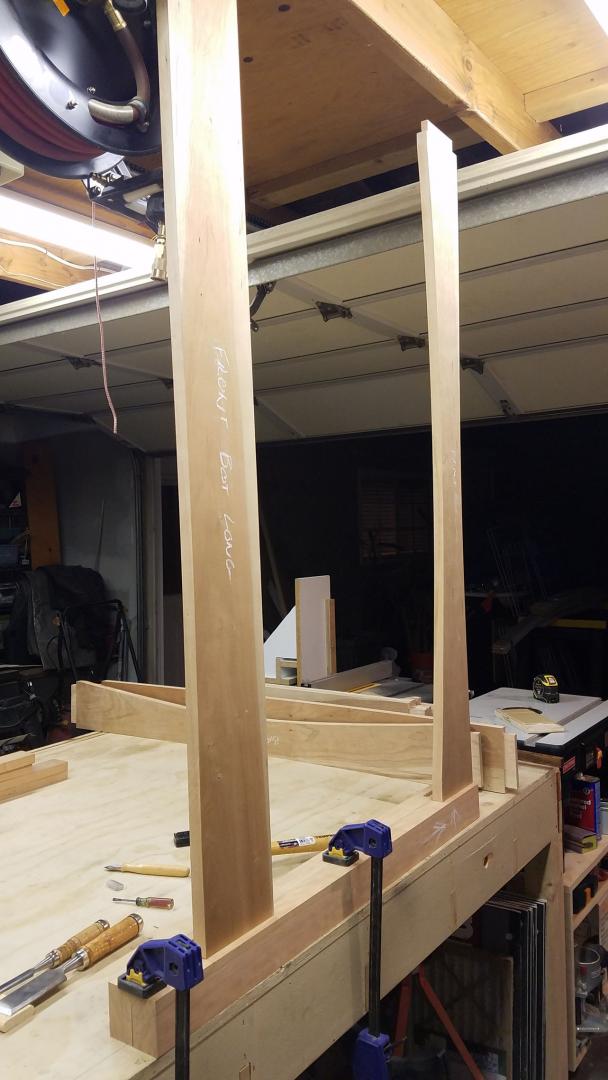
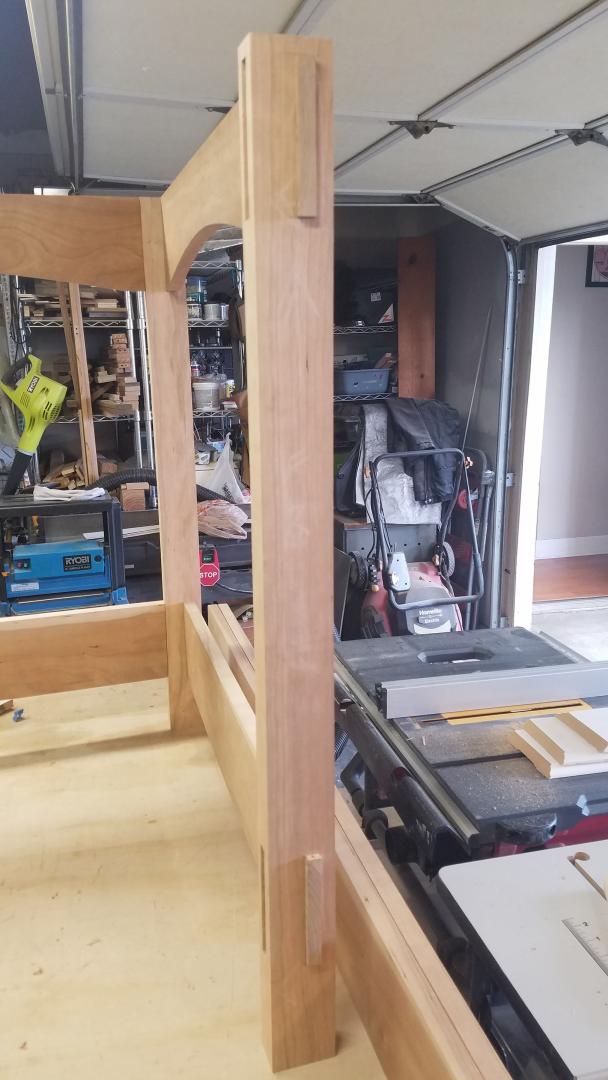
After the pieces were cut to size and shape, it was time to cut the joinery. In this case that included pinned mortise and tenons for the front and back rails, through mortise and tenons for the side rails, dowels for the top caps, and mortises in the top and bottom rails to accept the pickets and panels.
I cut all the tenons in the rails first, then marked the legs for mortises using each corresponding tenon as my guide. After removing the bulk of the material on the drill press, I had chiseled the mortises to size, testing the fit as I went. Starting with the stopped mortises for the long rails, then moving on to the more difficult through mortises for the side rails. These are more difficult because the front exit and "show face" of the mortises had to be perfect as they don't get hidden by anything.
Cutting mortises in the curved top rails was a unique challenge, so rather than cutting individual mortises like I did for the bottom rails, I used a 1/2" slot cutting bit in my router table and cut a groove the full length, then I came back and filled the spaces between the pickets with pieces of the off-cut from the curve so the grain and color matched as close as possible. Of course that meant taking a 3/4" thick board and running it through the planer, flipping it back and forth on each pass to get a 1/2" piece out of the middle of the starting thickness. Then I had to cut it into a bunch of small sections and fit and glue every other piece into the slot with the appropriate gap between them. All for a section you won't see unless you are on the ground looking up. The only thing I didn't bother with was making the gaps rounded to match the pickets.


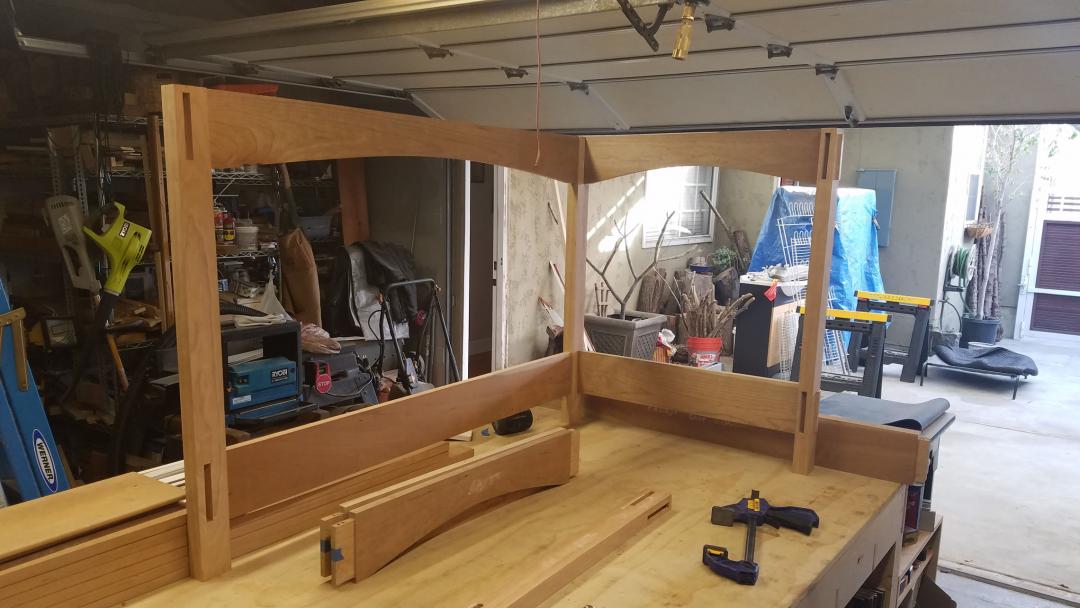
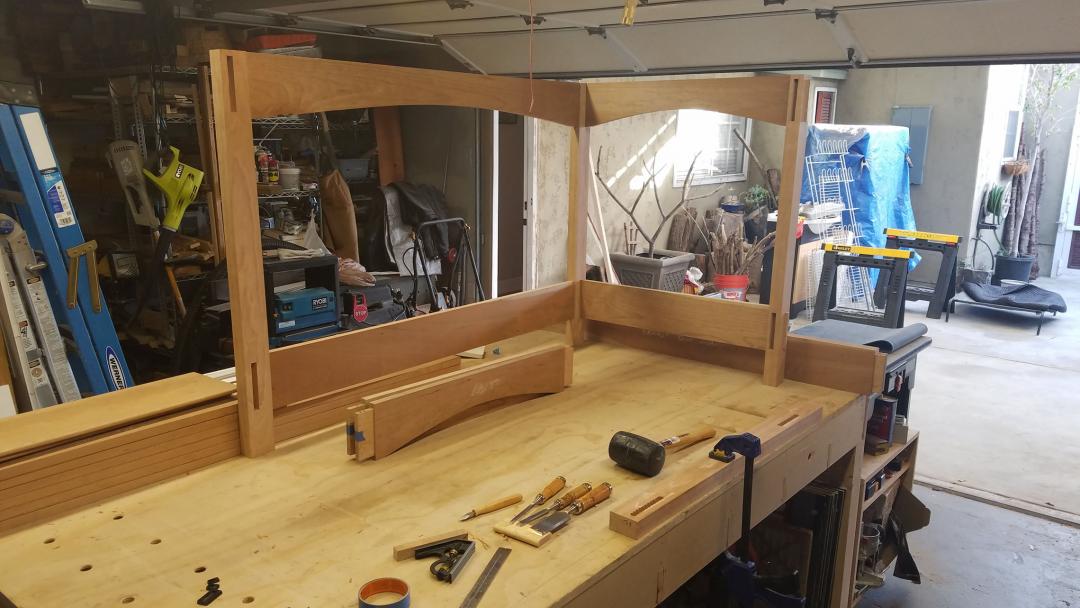
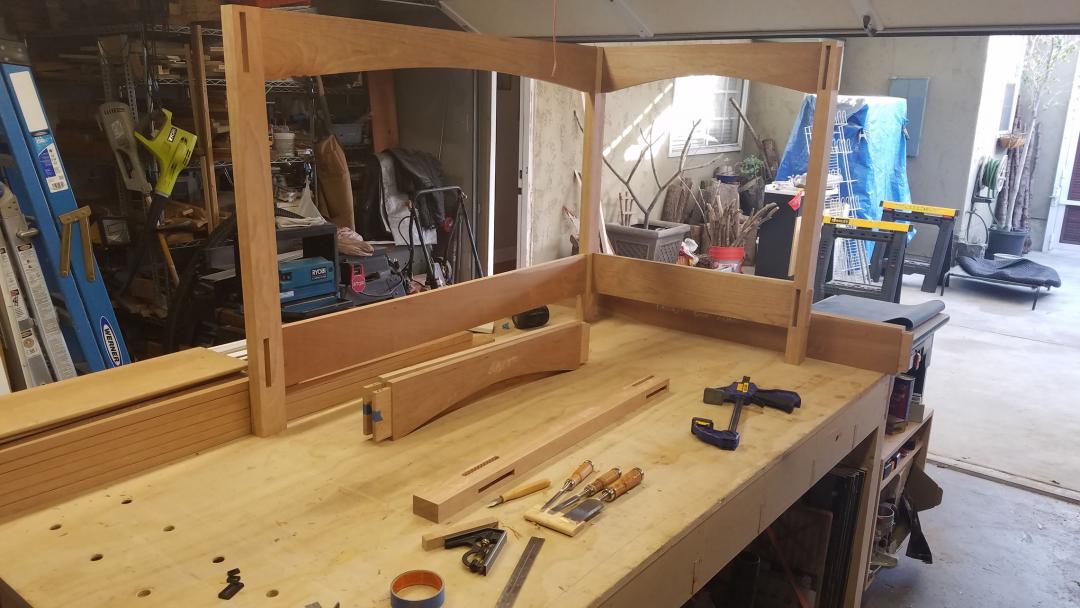


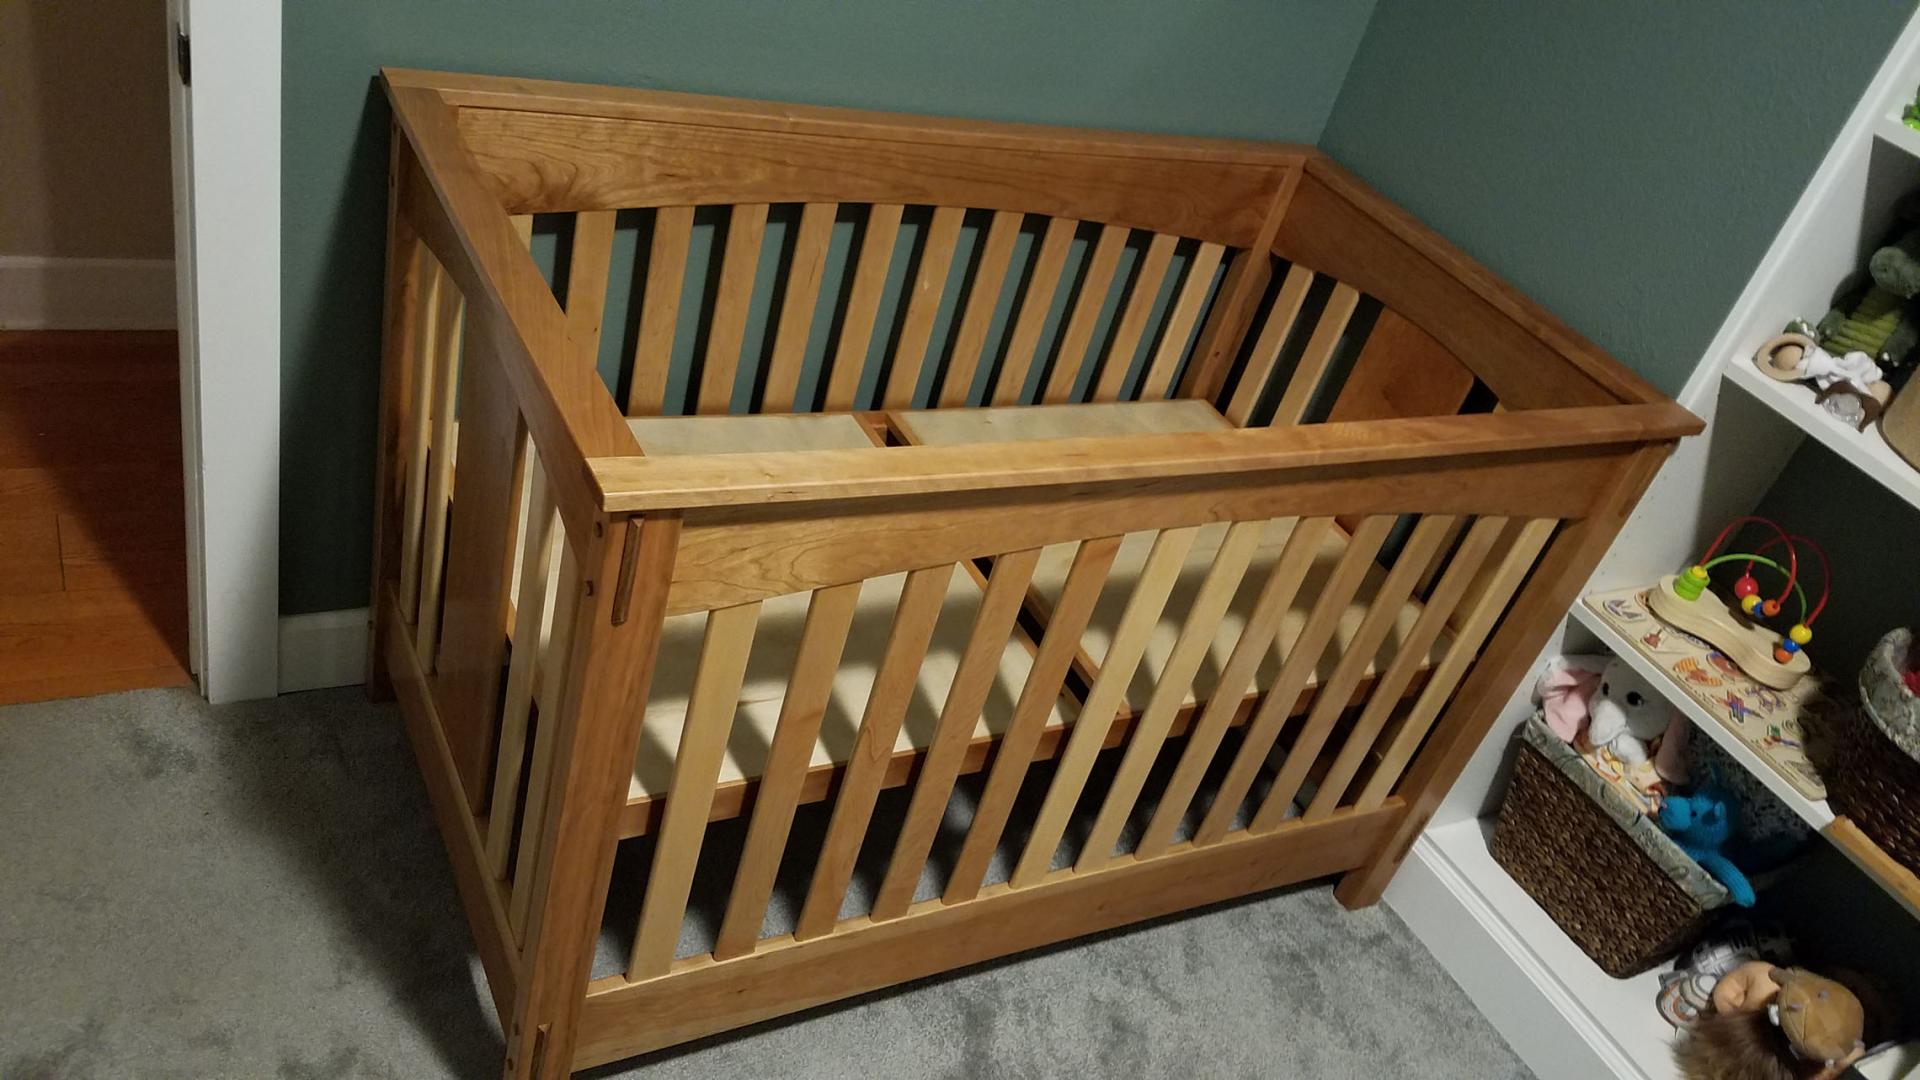
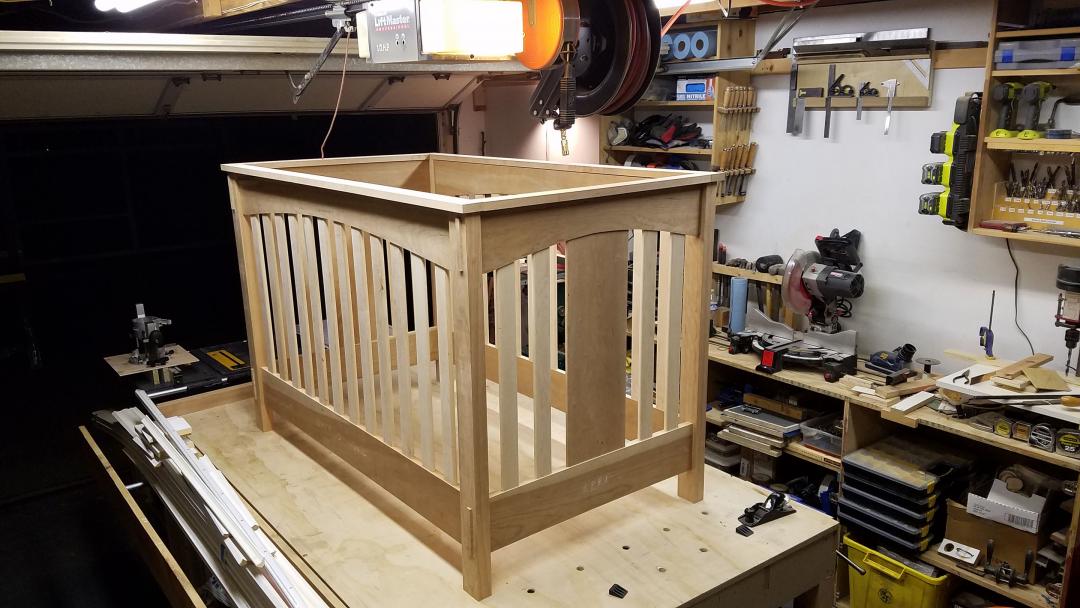
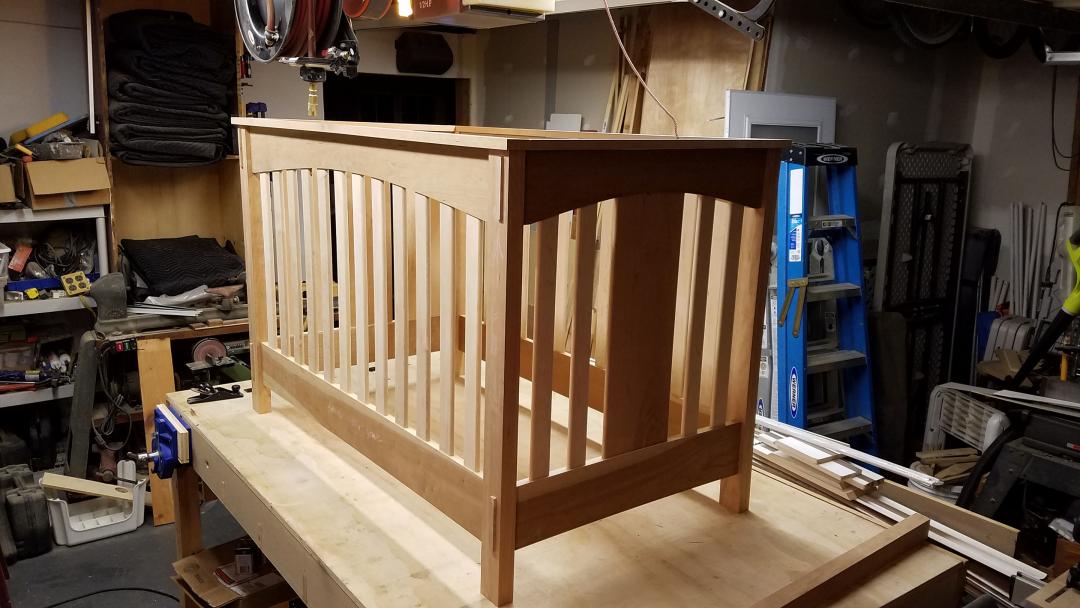
After all the mortises were done, and the pickets were cut to match the curve, I had to do a quick dry assembly to see the whole thing as a crib. I was pretty happy with it.
The last bit of joinery to do was to mark and drill for the dowels that would pin the long rails in to the legs permanently. I did this as a draw-bore where the whole in the tenon is slightly offset from the hole in the leg so that when the dowel is driven in it pulls the joint tighter. Of course I had to make it even more challenging and not have the holes go all the way through so they stop about 1/4" from the outside face of the legs. I don't know why I did this, but I did, and it worked out.
I then also drilled the holes for the adjustable pins for the bed height and the screw holes and counter bores for the side rails so it can be disassembled.

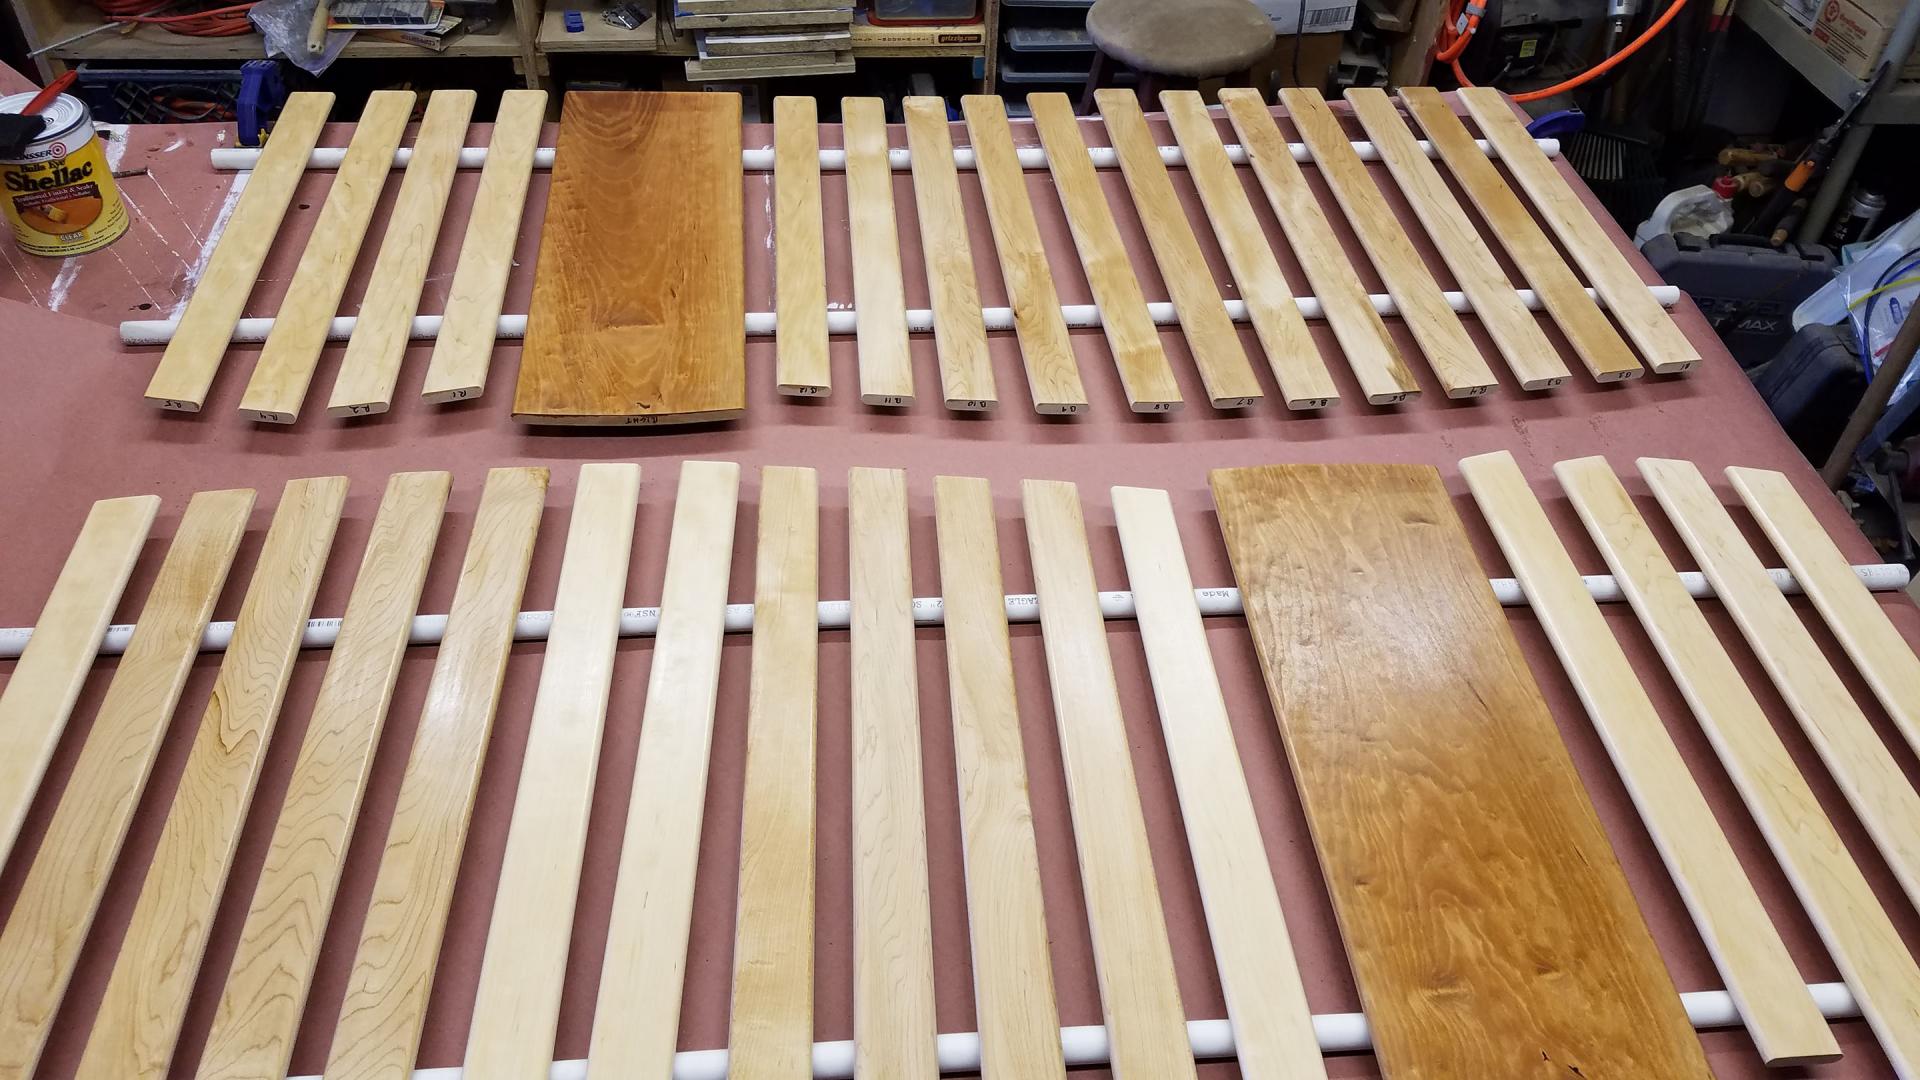
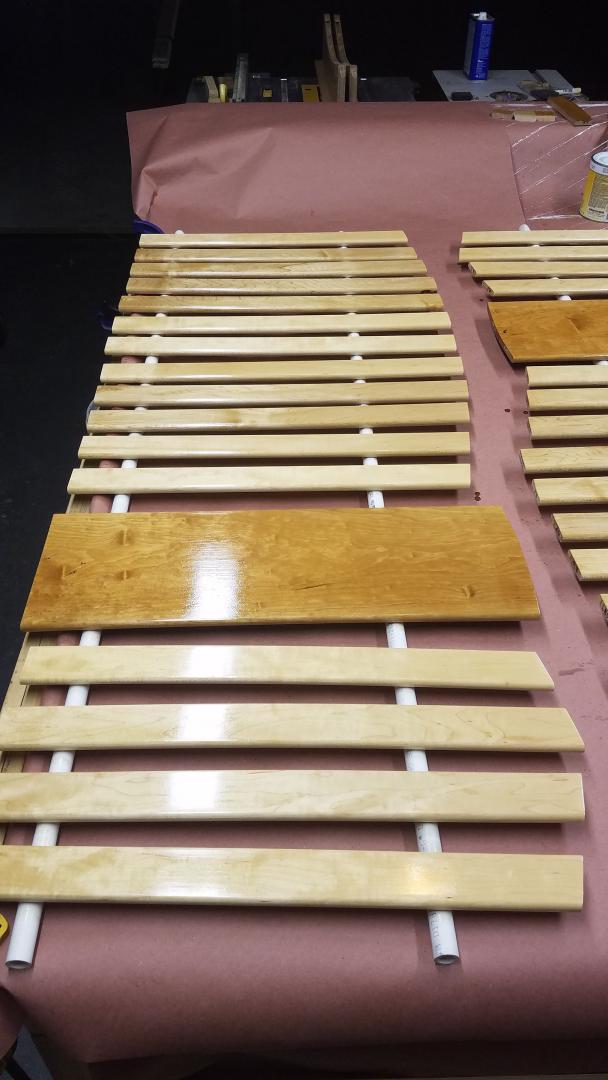
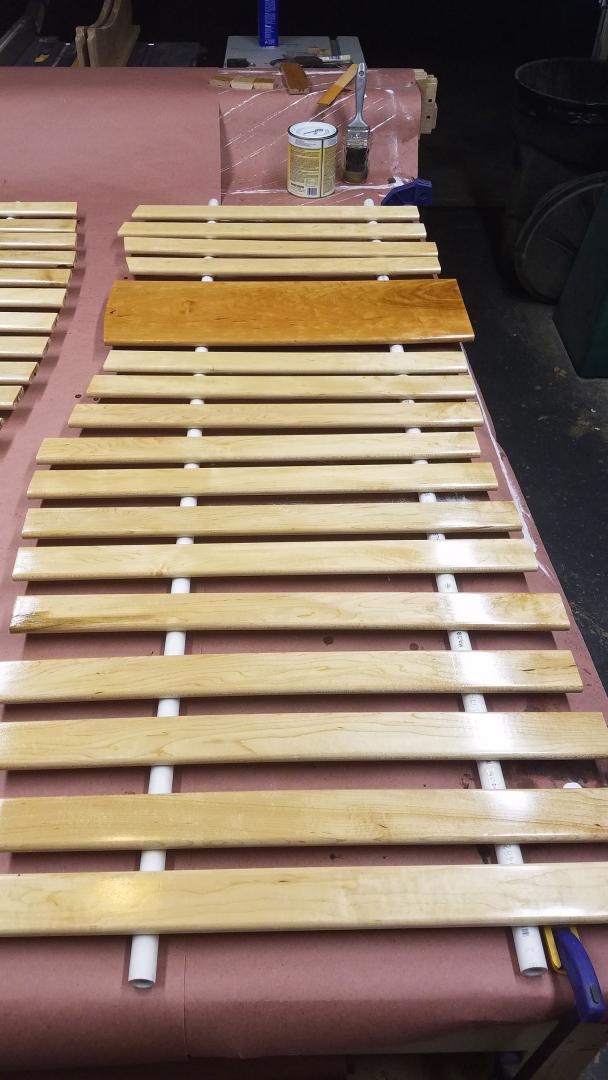
Pre-Finishing
All the pickets just float in their mortises and aren't glued in, so I wanted to apply finish to them before final assembly. This way there's no concern of the finish cracking at the joints or seeing a faint line of unfinished wood.
This is where having a large assembly table/work bench comes in handy, 35 pickets and 2 panels all laid out getting finished at once.


Final Assembly and Finish
With the draw-bored tenons, no clamps were needed to hold the rails during glue up. Which is good, because I don't have clamps long enough to do that.
However, the top caps did need some clamping while the glue dried.

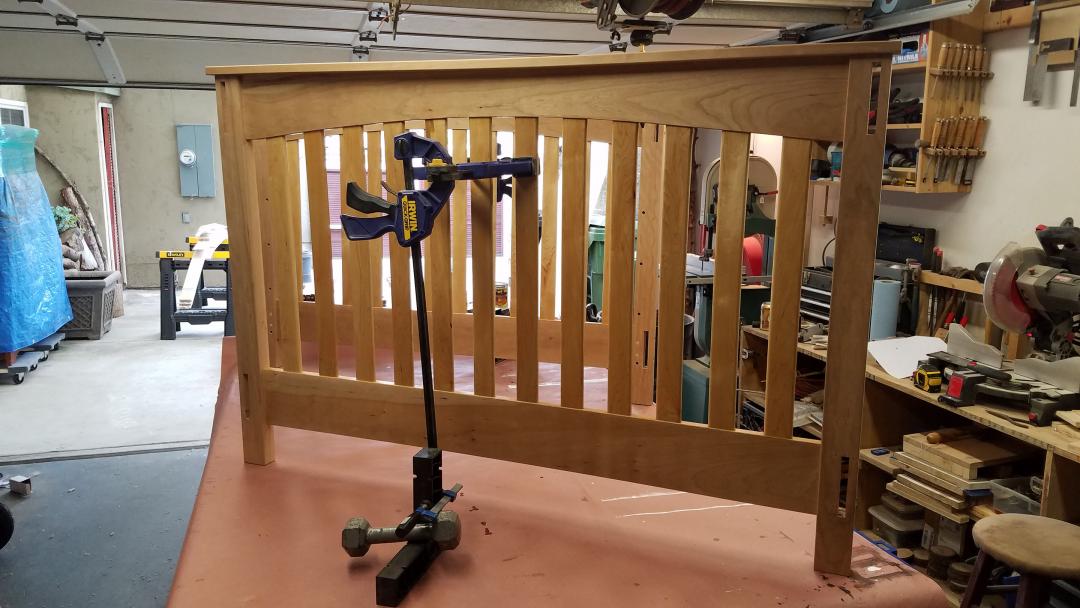
After the glue was dry and cleaned up, I gave the legs and rails a final sanding and was ready to apply finish. Of course, that was an interesting task as well, as I couldn't assemble the full crib since the side rails are removable. So I had to come up with a creative clamping solution to hold the panels up while I applied the finish. Luckily, with the pickets pre-finished I could hold on to them with this clamp on a clamp on a square with a weight art piece.
The very last thing I had neglected to make, and therefore rushed to complete without taking any photos of, was the bed platform. I guess that's important too.
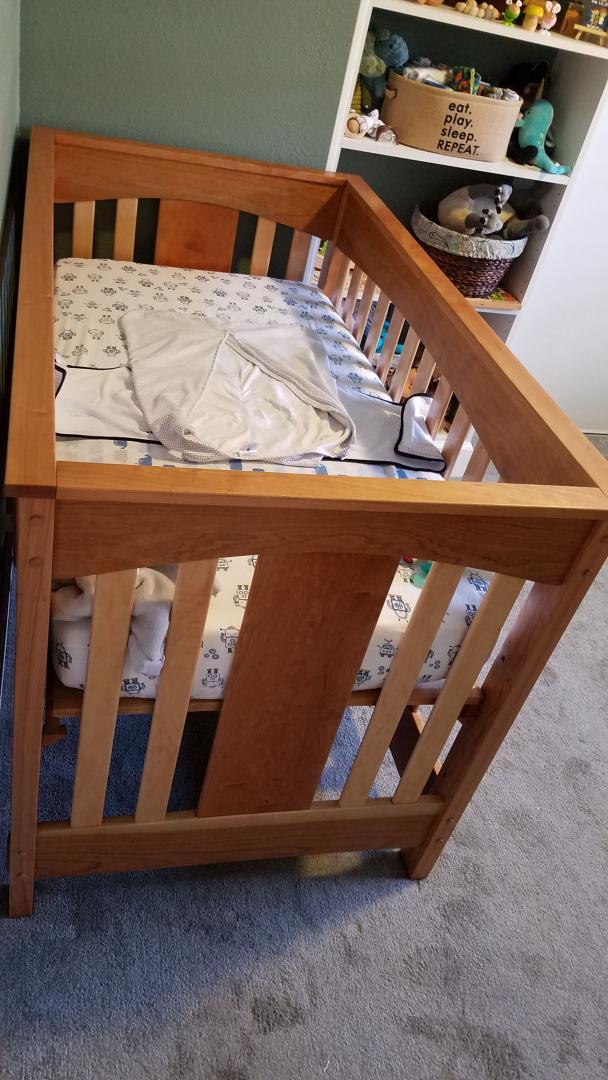
I used two small pieces of plywood (I didn't want to but it made sense) wrapped with cherry rails and edging. I left a gap in the middle so it can easily be grabbed and lifted in and out when changing the height.
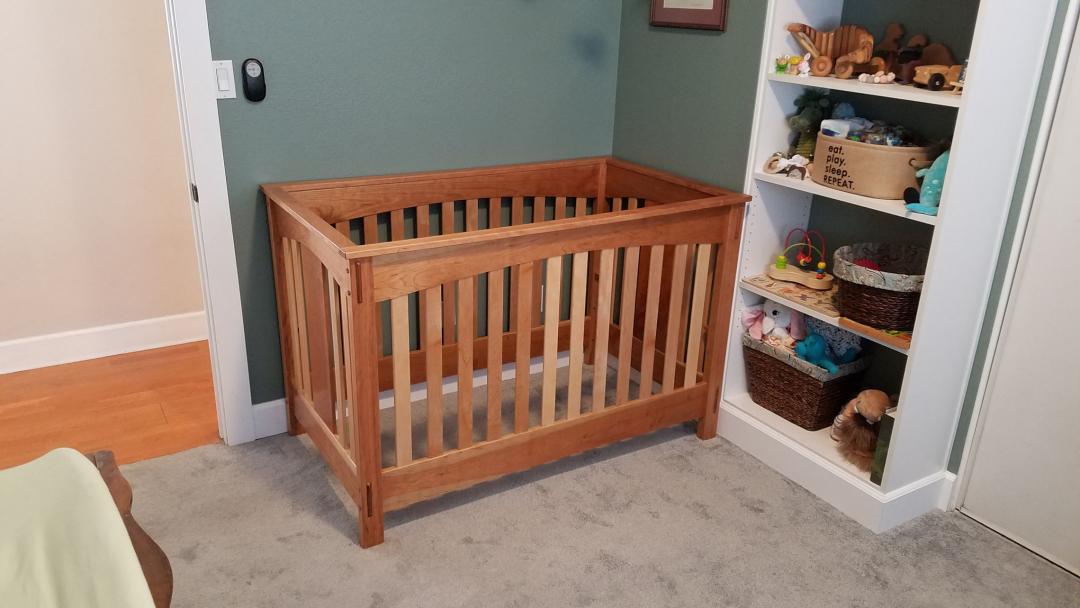
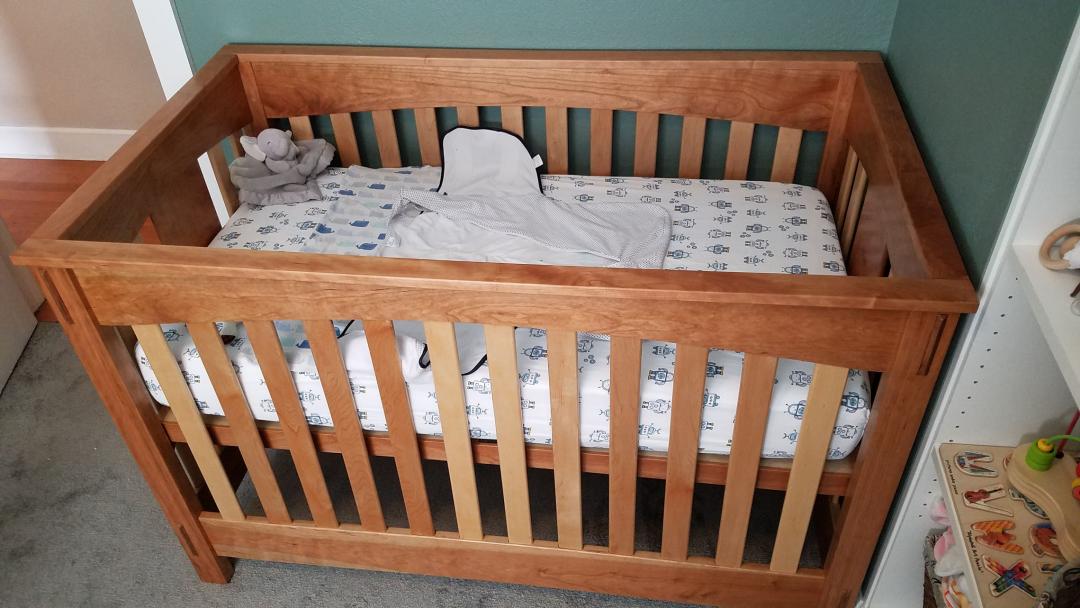
Then, it was complete and ready for my son to sleep in.